Step I – Uninstall the current scanner driver
- Turn off or disconnect your scanner.
- Open the Windows Control Panel.
- Open “Add/Remove Programs” or “Programs and Features”.
- If listed, remove the Scanner driver.
- Scroll down the list and click on your existing scanner driver; the driver name will appear as OneTouch 2.0/3.0/4.0 and/or as your scanner model (i.e. Visioneer Scanner, etc.)
- Click on the “Change” or “Remove” button
- Follow the uninstall wizard through an automatic full uninstall (removal).
- Close the Add/Remove Programs and the Control Panel.
Step II – Use the Utility to clean-up the driver removal
- Run Hidden Devices+ as an Administrator by right-clicking on the utility and select “Run as Administrator”.
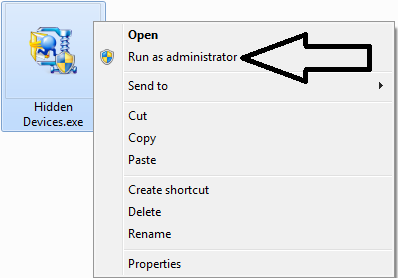
- The Windows Device Manager will open.
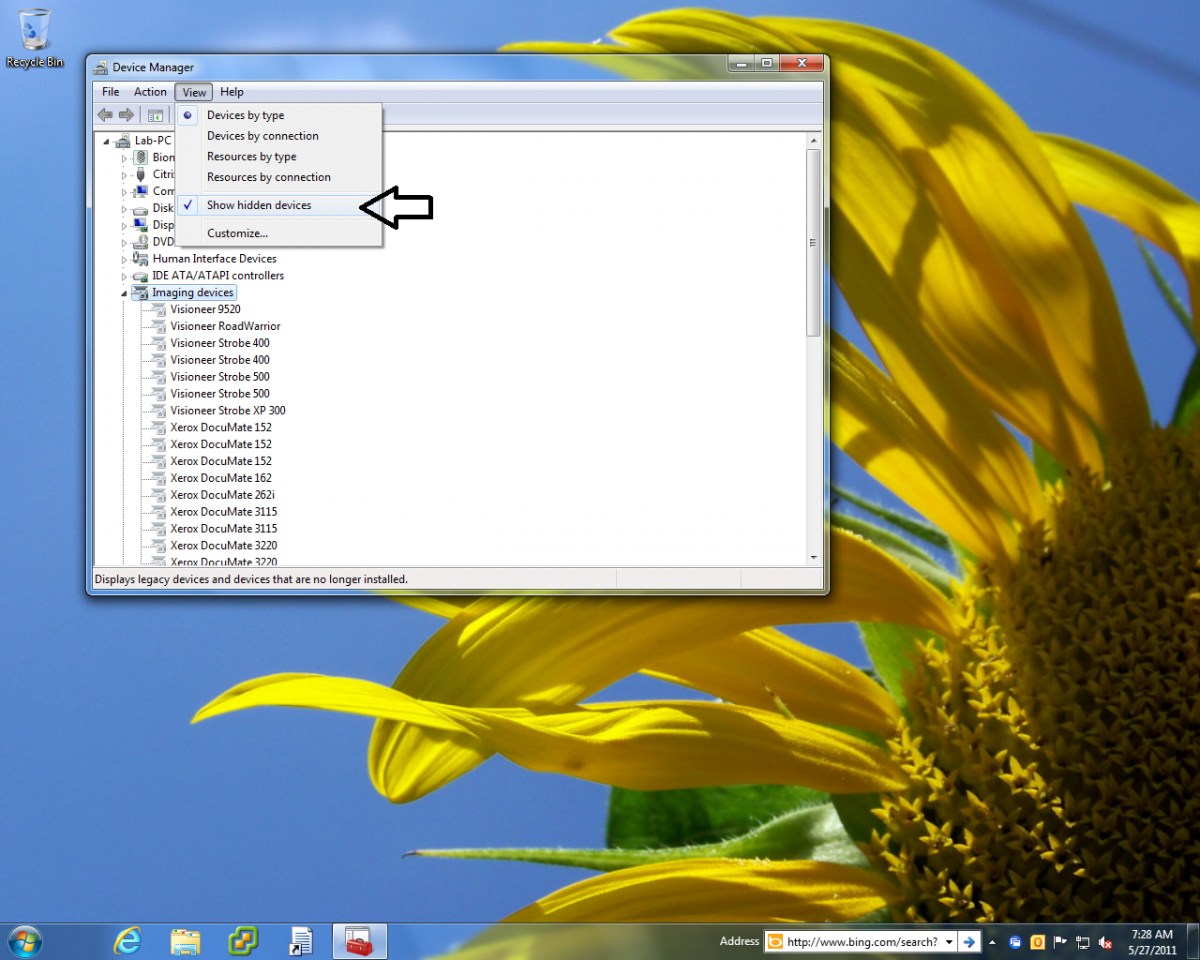
- Go to the “View” menu and select “Show Hidden Devices”.
- Expand Imaging Devices to show all scanners and cameras previously and currently connected to the computer.
- Right-click on the Visioneer scanner name and select “Uninstall”.

- In the Confirm Device Uninstall window click on “Delete the driver software for this device” then click on “OK”.
- Repeat steps 5 and 6 for all instances of your scanner.
- IF you see , expand it.
- Right click and “Uninstall” any of the following:
- USB Scanner
- USB Device
- Unknown Device
- {Scanner Model}
- (any other scanners or cameras listed here that you no longer use)
- Close the Device Manager, and return to your Windows Desktop.
Note: If you receive an error: “Failed to uninstall the device. The device may be required to boot up the computer”
Step III – Install the latest driver for your scanner
- Double Click to run the scanner’s driver installer that you downloaded.
- Follow the prompts through installing the scanner driver.
- STOP when you get to the “Finish / Connect the Scanner” screen.
- Connect and power on your scanner.
- Wait for the system to detect the scanner (this may take 30 seconds), then click on the “OK” button.