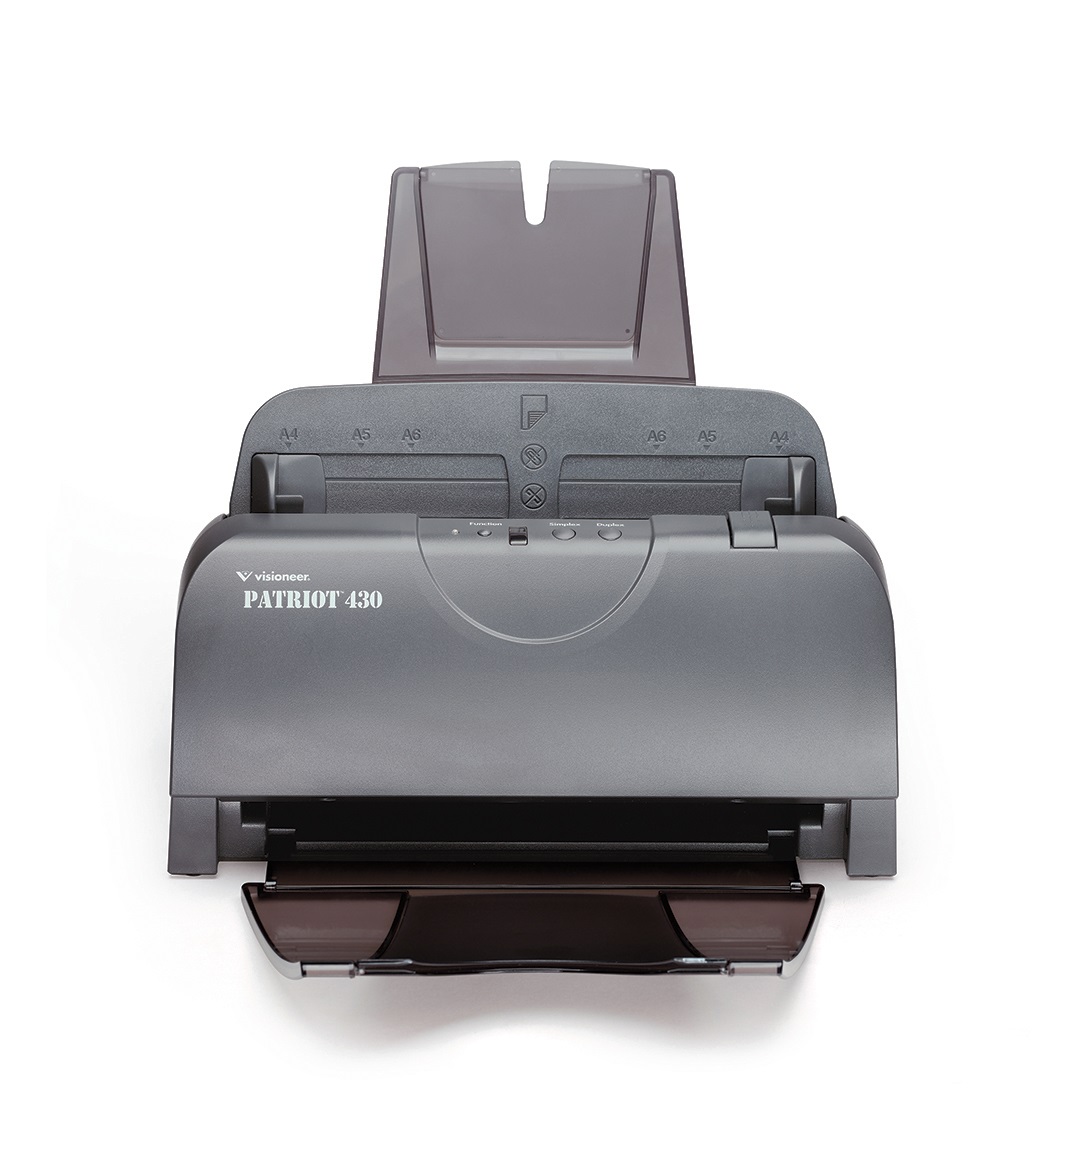
Visioneer Patriot 430
- TAA-compliant
- Scans 18 pages per minute in simplex and 36 images per minute* in duplex mode
- Compact Duplex Scanner holds 50 pages ADF capacity
- Convert documents into searchable PDF files with OneTouch
- 9 OneTouch pre-programmed "scan-to" destinations
Note: You must uninstall your current driver to install an updated driver.
Downloads do not include bundled software.
Driver for Windows
Microsoft Windows 10, 8, 7, Vista and XP (SP2) certified TWAIN and WIA drivers
Version 4.6.15706

OneTouch 4.x software for OneTouch and button scanning
Visioneer OneTouch is a utility that connects scanner buttons with pre-selected destinations (and/or applications) and allows you to scan into these destinations by simply pressing one button. Destinations can include your email, Word processor, printer or simply a file folder.

Windows User Guides


Installation help
Step I - Uninstall the current scanner driver
-
Turn off or disconnect your scanner.
-
Open the Windows Control Panel.
-
Open "Add/Remove Programs" or "Programs and Features".
-
If listed, remove the Scanner driver.
-
Scroll down the list and click on your existing scanner driver; the driver name will appear as OneTouch 2.0/3.0/4.0 and/or as your scanner model (i.e. Visioneer Scanner, etc.)
-
Click on the "Change" or "Remove" button
-
Follow the uninstall wizard through an automatic full uninstall (removal).
-
-
Close the Add/Remove Programs and the Control Panel.
Step II - Use the Utility to clean-up the driver removal
-
Run Hidden Devices+ as an Administrator by right-clicking on the utility and select "Run as Administrator".
-
The Windows Device Manager will open.
-
Go to the "View" menu and select "Show Hidden Devices".
-
Expand Imaging Devices to show all scanners and cameras previously and currently connected to the computer.
-
Right-click on the Visioneer scanner name and select "Uninstall".
-
In the Confirm Device Uninstall window click on "Delete the driver software for this device" then click on "OK".
-
Repeat steps 5 and 6 for all instances of your scanner.
-
-
IF you see
, expand it.
-
Right click and "Uninstall" any of the following:
-
USB Scanner
-
USB Device
-
Unknown Device
-
{Scanner Model}
-
(any other scanners or cameras listed here that you no longer use)
-
-
Close the Device Manager, and return to your Windows Desktop.
Note: If you receive an error: "Failed to uninstall the device. The device may be required to boot up the computer"
Step III - Install the latest driver for your scanner
-
Double Click to run the scanner's driver installer that you downloaded.
-
Follow the prompts through installing the scanner driver.
-
STOP when you get to the "Finish / Connect the Scanner" screen.
-
Connect and power on your scanner.
-
Wait for the system to detect the scanner (this may take 30 seconds), then click on the "OK" button.
Solution:
Before you begin:
Unplug scanner USB cable
Ensure computer you are working on has Local Administrator credentials
Step 1 – Remove previous versions of driver and OT:
- Locate the Windows icon [ ] on the bottom left of your screen
- Right-click on icon and choose “Programs and Features”
- Sort programs by “publisher” and locate “Visioneer Inc.” programs
- Locate the Driver
o Right-Click driver and choose uninstall
o Follow the prompts until complete
- Locate One Touch software
o Right-Click One Touch and choose uninstall
o Follow the prompts until complete
Step 2 – Install Driver:
Click here for Visioneer Scanners support page
a. On the support page, search model number of scanner and download the latest TWAIN/WIA driver.
b. Find the driver download in your “downloads” folder then double click on it – The Welcome screen for the scanner driver Setup Wizard opens. Click Next.
The OneTouch software you received with your scanner includes the Visioneer® Acuity technology. This application has a set of features for improving and enhancing the quality of scanned documents, especially documents that would usually produce poorer quality images. Scan configurations with Acuity options work with OneTouch scan settings to produce the best quality images.
If Visioneer Acuity is available for your scanner, it will be installed automatically when installing the scanner driver from the installation disc. If you download the driver from our website, the download page will indicate which installer contains Visioneer Acuity. Visioneer Acuity is not available if it is not described in the download page for your scanner.
The instructions in this section only apply if the scanner you purchased included Visioneer Acuity on the installation disc. For all other scanners, please continue on to the instructions for adjusting options on the Advanced Settings Tab.
Click the drop-down arrow to choose the type of Acuity settings to use for the new scan configuration. The options are:
■ Do not use Acuity image processing—scanning will not use the Acuity processing.
■ Default settings—automatically selects the options your scanner can use with any scan mode (Black & White, Grayscale, and Color).
Select the options for scanning
■ Auto-Crop to original—select this option to let the software automatically determine the size of the item being scanned.
■ Straighten image—select this option to have the software automatically determine if a page is skewed, then straighten its image. If the page is scanned at too great an angle, the image may not straighten correctly. In that case, re-scan the page.
■ Auto detect color—determines if a document contains color or not and produces the appropriate scanned image. Instead of you having to change the scan settings from Color to Black & White and back again, the scanner can choose the correct settings automatically.
■ Skip blank originals—recognizes when a page is blank and removes its image.
■ Rotate image—select an option in this list to have the final image rotated when scanning is complete.
■Flip back side—select this option if you are scanning duplex pages that are calendar style orientation. This option will rotate the back side image 180 degrees from the front side. When scanning in duplex mode without this option selected, the back side image of calendar orientation pages will appear upside down in the final scan. This option does not automatically determine book page orientation versus calendar page orientation. If you have this option selected when scanning book orientation pages, the image for the back side of the page will appear upside down in the final scan. If you are scanning a batch of documents that contain both types of orientation, we recommend that you select Automatic in the rotate image list.
■ Perform edge cleanup—select this option to have the software remove any thin lines that may be around the edges in the scanned image. Edge Cleanup only applies if Auto-Crop and Auto De-skew are selected so the software can determine where the edges are located. Therefore, selecting Edge Cleanup will also select Auto-Crop and Auto De-skew. This option is only available when scanning in Black & White.
■ De-speckle—speckles are small spots on an image that the scanner interpreted as a valid part of the document. The De-speckle option identifies these spots and removes them. This option is only available when scanning in Black & White.
■ Color dropout—color dropout is the ability of your scanner to automatically remove a color from a scanned image. For example, if you are scanning a letter with a red watermark, you can choose to filter out the red so the scanned letter just shows the text and not the red watermark. Color dropout applies to Black & White or Grayscale scanning modes.
■ Bit depth reduction—click the drop down menu and select an option from the list. The Bit depth reduction options are only available when scanning in black and white.
● Error diffusion, Bayer, and Halftone patterns are the intentional application of noise (dithering) in the image to help alleviate banding when scanning in binary (black and white) mode. For example, if you scan a color photo in black and white, the image file will have large blocks of black and white and the image barely recognizable. Dithering the image creates a black and white image that is recognizable.
● Dynamic threshold attempts to evaluate the scanned page and automatically adjust the brightness and contrast levels to produce the best quality image when scanning in black and white.
Hardware Issues
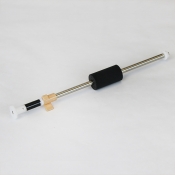
The roller will wear out and is designed to be a user-replaceable part. A worn roller can cause documents to feed in skewed at an angle, or multiple pages to feed at the same time. Before replacing the roller you should clean it as excessive dust on the roller will make it appear worn and smooth. You cannot properly diagnose a worn roller until you have cleaned it.
Replacement parts can be purchased from the Parts & Accessories page for your scanner at www.visioneer.com
- Open the scanner.
2. Locate the roller cover in the ADF door.
3. Pinch the sides of the roller cover and pull it down to access the roller.
4. Carefully angle the roller up and out of the scanner.
5. Remove the replaceable roller from the bar.
6. Discard the roller, it cannot be repaired or reused.
7. Take the new roller out of its packaging. Clean any dust off the roller before installing it.
8. Slide the new roller onto the bar. Make sure the struts on the bar line up to the slots in the end of the roller.
9. Insert the round end of the roller into the slot in the scanner. Carefully lower the roller into the scanner. Make sure the groove on the right side of the roller is aligned so that it slides in place into the U-shape of the bracket.
10. Lift the roller cover and carefully push it closed to lock it in place. Make sure everything is aligned properly and the cover is fully closed. If the cover is not fully closed it will break during scanning and damage the scanner.
11. Close the scanner when you’re finished.
Generic Help
-----------------------------------------------------------------------------------------------------------------------
Before you begin:
Ensure the computer you are working on has Local Administrator credentials
Step 1 – Remove the previous unit from device manager:
Locate the Windows icon on the bottom left of your screen
Right-click on icon and choose “Device Manager”
Expand 'Imaging devices'
Select scanner
o Right-Click driver and choose uninstall (Note: Do Not Delete Driver)
o Power cycle scanner (Turn Off / Turn On)
Step 2 – Wait until scanner appears under imaging devices:
o Verify the OneTouch is back in your system tray
Step 3 – You are to scan
o Go ahead and start scanning
Step I - Uninstall the current scanner driver
-
Turn off or disconnect your scanner.
-
Open the Windows Control Panel.
-
Open "Add/Remove Programs" or "Programs and Features".
-
If listed, remove the Scanner driver.
-
Scroll down the list and click on your existing scanner driver; the driver name will appear as OneTouch 2.0/3.0/4.0 and/or as your scanner model (i.e. Visioneer Scanner, etc.)
-
Click on the "Change" or "Remove" button
-
Follow the uninstall wizard through an automatic full uninstall (removal).
-
-
Close the Add/Remove Programs and the Control Panel.
Step II - Use the Utility to clean-up the driver removal
-
Run Hidden Devices+ as an Administrator by right-clicking on the utility and select "Run as Administrator".
-
The Windows Device Manager will open.
-
Go to the "View" menu and select "Show Hidden Devices".
-
Expand Imaging Devices to show all scanners and cameras previously and currently connected to the computer.
-
Right-click on the Visioneer scanner name and select "Uninstall"
-
In the Confirm Device Uninstall window click on "Delete the driver software for this device" then click on "OK".
-
Repeat steps 5 and 6 for all instances of your scanner.
-
-
IF you see? Other Devices, expand it.
-
Right-click and "Uninstall" any of the following:
-
USB Scanner
-
USB Device
-
Unknown Device
-
{Scanner Model}
-
(any other scanners or cameras listed here that you no longer use)
-
-
Close the Device Manager, and return to your Windows Desktop.
Note: If you receive an error: "Failed to uninstall the device. The device may be required to boot up the computer"
Step III - Install the latest driver for your scanner
-
Double Click to run the scanner's driver installer that you downloaded.
-
Follow the prompts by installing the scanner driver.
-
STOP when you get to the "Finish / Connect the Scanner" screen.
-
Connect and power on your scanner.
-
Wait for the system to detect the scanner (this may take 30 seconds), then click on the "OK" button.
All of our scanners are USB connect scanners, but can be made networkable through our NetScan 3000.
See ISV Compatible Software page.
We have been notified that PaperPort 14.5 won't launch after a recent update of Windows 10. Nuance, the maker of PaperPort, offers more information on this issue on their site. Find more information from Nuance here.
Didn't find what you are looking for? Chat with us, or email in at Contact Us